
DIY Guide to Making Rocker Patches for Your MC
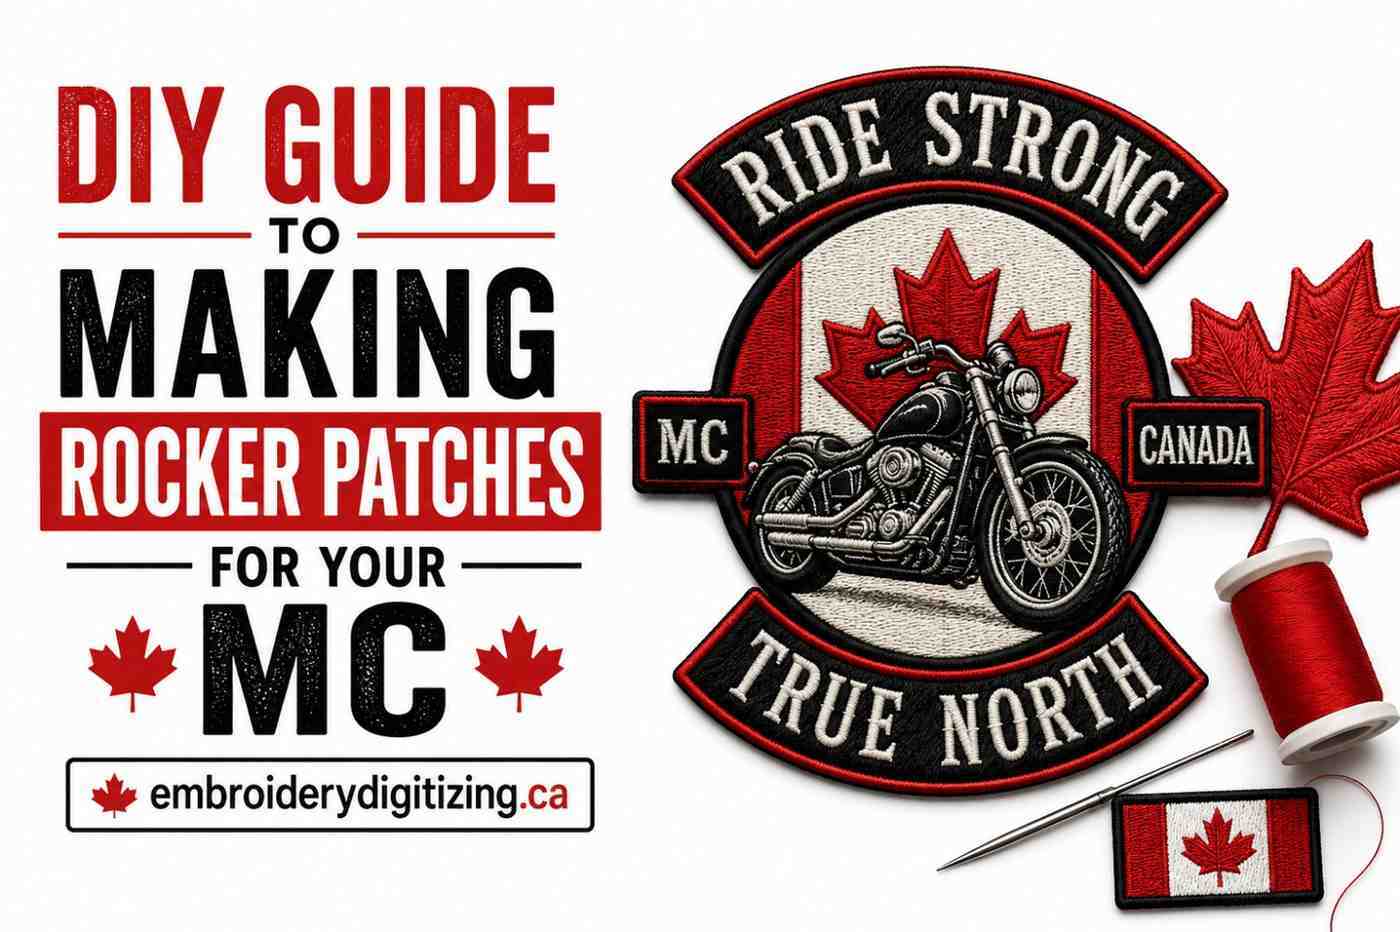
Crafting custom rocker patches for a motorcycle club is a highly specialized, technical project that demands absolute structural precision. Rocker patches are not incredibly difficult to manufacture using modern equipment, but they are surprisingly easy to get wrong if you rush through the initial planning phases.
There are three basic things to get right to ensure that the difference between a patch set that looks tidy, sharp, and professional and the patch set that immediately looks like a home experiment is one that you carefully choose the backing fabric for.
From the selection of raw materials to the layout of the digital design, the stringent club placement rules, and the historical subculture symbolism, learn how you can head to the workbench with a complete blueprint and save on material waste.
What Rocker Patches Are and Why the Details Matter
The motorcycle club rocker patches are a visual code that has been consistent for decades. The top rocker is the curved portion that runs across the entire back panel and is used to display the club name (usually 10-12 inches wide). The bottom rocker is the chapter territory and has the same arc.
Both rockers must be the same size as the centre patch border. The most typical error made in DIY sets is mismatched curves, which instantly make them look amateurish. If you need to cut fabric, measure the radius of the arcs of your centre patch and then cut both rockers around that, not the other way around.
Before you get started with your stitching, it’s important to know that language is the key to understanding for independent riders and smaller clubs making their own sets. Font choice matters. Border width matters. The distance between the text and the border edge is important.
What you produce will be read by everyone in the community, and the biker symbols and meanings carry weight whether you intend them to or not.
Choosing Your Materials
Fabric and Thread
The proper backing fabric is 100% polyester twill, especially when you opt for stylish sew on patches and iron on patches. Stitches hold without stretching, are not affected by heat pressing, and will not stretch with heavy stitching. Cotton twill, on the other hand, is less expensive, but gets soft and absorbs moisture over time.
Bright white polyester is recommended for designs with a white outline on a dark background, common on rockers. Optical white is not suitable in outdoor light; it will read grey on black fabric. Stabiliser is more important than most guides would think.
Use medium-weight cutaway, not tearaway; tearaway leaves micro-tears at the stitch edge over time; cutaway stays embedded and keeps the patch flat through years of flexing.
Attachment Method
For permanent motorcycle club patch placement, use sew on patches. Use a straight stitch and matching thread to machine-stitch around the marrow border; zigzag stitches will keep catching the border threads and eventually pull them out of place. Sew twice around the outer edges with heavy leather, once with denim.
There are a lot of benefits of custom Velcro patches, which are most applicable when you are still working out your look, or if you’re using multiple vests. For back patches, cheap Velcro separates easily; use a minimum of hook-and-loop rated for 10+ lbs and make sure not to stitch it wrong side out.
Understanding Placement Rules
The three-piece back set is fixed. Top rocker is 1 – 1.5 inches above the centre patch and even. Below, 1 to 1.5 inches, is the bottom rocker. Both should be horizontally centered on the back panel. Crooked sets are the result of pinning by eyeballing the placement; use tailor’s chalk and ruler before pinning.
Biker vest patch placement by custom embroidery digitizing on side panels runs along the seam line below the armhole. Side panels are personal territory memorial patches, achievement patches, and rally commemorations. Keep them below the armhole and above the bottom hem to avoid the cluttered look that comes from filling every available inch.
Front and Side Panel Logic
President, VP, Road Captain, and Sergeant at Arms all have a standard patch, about 3 x 1.5 inches, for MC vest patch placement on the front left chest. Club-issued pins, event patches, and support patches for affiliated clubs are on the right chest and collar.
The placement of biker vest patches on side panels is along the seam line below the armhole. Side panels are patches for personal territory to remember, award, and commemorate rallies. Don’t put them directly under the armhole or above the bottom hem, as it would create a lot of clutter.
Side Rocker Specifics
Side rocker patch placement is the curved patches found on the sides away from the back rockers. They mark support, nomad affiliation, or territory in clubs organized in a chapter-based structure. Standard size is 4 to 6 inches across, smaller than back rockers, and shaped so they don’t wrap onto the front or back panels.
Side rocker patches are different for each club and cannot be assumed. A support club with a side rocker that is similar in size or weight to an actual MC’s bottom rocker is a big no-no. If your club has an existing relationship with a parent or affiliated MC, get explicit sign-off on your side rocker design before you stitch a single thread.
What Your Patches Communicate
What Can Be Put on a Full Club Vest
A three-piece back is not enough for a complete set. The standard elements of motorcycle club patches list are: top rocker, centre patch, bottom rocker, membership number, years of service rocker, officer title patch, and earned achievement patches.
Support clubs are not a full 3-piece set, but instead a “Support” rocker placed above or below the affiliated club’s identifier, not the same weight as a full member’s back patch.
Construct the structures in the aforementioned priority. Use the 3-piece back set first, and add the others over time. A patch-laden vest that has been acquired from day one is a made-up one in this culture; patches are earned and witnessed, not put together.
Biker Symbols and Their Meanings
Biker symbols may have different meanings depending on region and community. The 1% diamond is a warning to the rest of the outlaws that this isn’t as much biker gold as it looks. The ace of spades doesn’t indicate the club affiliation; it indicates riding style.
The meanings of wings in certain colours, skull designs with coloured backgrounds, and number-coded imagery are known only to members of certain communities, but are read within those communities.
Some outlaw biker symbols and meanings are officially recognized in law enforcement literature and in MC writing. Others are protected and/or claimed by certain clubs. It’s a much bigger issue if you’re wearing a symbol that you haven’t earned.
Historically Significant Designs
The bandit’s pterodactyl patch meaning is unique to each patch and is protected by law: the pterodactyl with a sword and a pistol is the trademarked patch of the Bandits MC by the USPTO. Independent use is not only disrespectful but also illegal, and it has been taken up by the club in several countries.
This is also true for all the 1%er club badges, such as the Hells Angels death’s head, the Mongols patch, and others. Create your own centre image. The layout and colour may be based on reference to tradition, but must be original in the emblem.
FAQs
What type of software adjustments are required for digitizing curved text?
To digitize a rocker patch correctly, you must adjust software settings for push and pull compensation. If you ignore this factor, the curved lettering will skew during machine stitching, making your final border lines look totally warped.
How can I temporarily hold a rocker patch in position before sewing it?
Using temporary fabric adhesive spray or premium double-sided basting tape will hold the curved rocker securely in place. This step prevents the heavy patch from shifting out of alignment while you carefully stitch the borders down.
What is the best method to remove an old rocker patch without damaging the leather?
Use a specialized seam ripper to carefully cut the stitches from the inner lining of the vest. Pulling threads out slowly prevents marring the hide, while applying leather conditioner afterward restores the grain where that patch once sat.
How do you determine the correct text size for a top rocker patch?
Measure the total width of the vest’s back panel, then subtract 2 inches from each side to leave a clean margin. Your text font size should fill the remaining curve evenly, ensuring the letters are large enough to remain legible.
To Wrap It Up
Take the time to get the arc measurements correct before cutting fabric, use high-quality polyester twill and dense cutaway stabiliser, ensure all side rocker designs are approved by the club leadership before committing to a final design, and if using symbols, make sure you understand exactly what they mean before they are added to a permanent vest.
By dedicating the time to carefully plan your canvas, carefully select the right thread weight, and carefully consider traditional placement rules, you are guaranteed a truly stunning and flawless look. Always make your handmade patches with intention, as they will be a visual representation of you and your entire club on every ride taken.
Put in the effort and make a point of working accurately, sticking to the rules, and proudly wearing your completed colours anywhere the highway takes you.

I specialize in writing for businesses where detail matters. From design concepts to digitized artwork, I write content that informs, inspires, and builds trust. My content makes complex ideas accessible, engaging, and easy to act on.